How to Transfer Photos and Files From Your Phone to Your Computer
Managing your digital library effectively starts with knowing how to transfer photos and files from your phone to your computer. Whether you are clearing space on your handset or backing up precious memories, the process is straightforward once you understand the primary methods available. Most users find that relying on a physical connection or a cloud-based sync service provides the most stability for large batches of data.
By mastering these techniques, you ensure your important documents and media remain safe across every device you own. This guide details the most efficient ways to move your digital assets without unnecessary stress or technical headaches.
The Fastest Method: Using a USB Cable
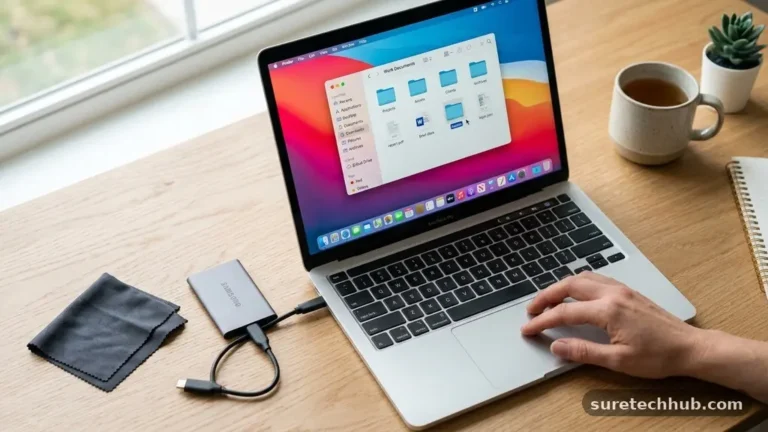
The most reliable way to move a large volume of data remains the classic USB cable approach. When you connect your device directly to your machine, you bypass the limitations of internet speed and cloud storage quotas. This method is essentially a direct file-system bridge that allows your computer to see your phone as an external storage drive.
To start, plug the appropriate cable into your phone and then into an available port on your computer. If you are using an Android device, you will likely see a notification on your screen asking how you want to use the connection. You must select the “File Transfer” or “Media Transfer Protocol” (MTP) option to grant your computer permission to access the internal storage.
Once the connection is established, your computer should recognize the phone as a new drive or device in your file explorer. You can then navigate through the folders, typically located under “DCIM” or “Camera,” to find your images and videos.
Simply highlight the items you wish to save, right-click to copy, and paste them into a folder on your local hard drive. This manual control is perfect for users who prefer organizing their files into specific directories immediately upon arrival.
Wireless Transfers via Cloud Storage
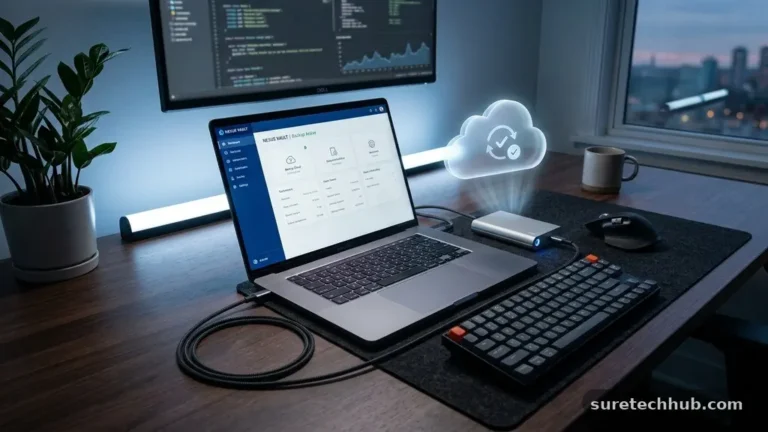
Cloud services offer a highly convenient alternative to physical cables, especially for those who want their data to be accessible anywhere. Platforms like Google Photos, iCloud, or OneDrive function as a middleman that synchronizes your content automatically. When you capture a photo on your phone, the app uploads it to the server in the background, making it ready for download on your computer shortly after.
This approach is excellent for maintaining a continuous backup cycle without needing to remember to plug in your phone. To retrieve files, you simply log into the web interface of your chosen provider on your computer browser.
From there, you can select specific items or entire albums and download them directly to your desktop. You can learn more about managing your digital storage space through the National Institute of Standards and Technology resources on data handling.
Be aware that cloud transfers are entirely dependent on your network speed. Uploading high-resolution videos or thousands of images can take a significant amount of time if your Wi-Fi connection is sluggish. Furthermore, ensure you are connected to a secure network to protect your privacy during the synchronization process.
Comparing Transfer Methods
Choosing the right approach depends on your specific hardware and the volume of data you need to move. The following table illustrates the main differences between the most common ways to move your files, helping you decide which fits your workflow best.
| Method | Speed | Connectivity Requirement | Best For |
|---|---|---|---|
| USB Cable | Very High | Physical Cable | Large video files and bulk image dumps |
| Cloud Sync | Variable | Active Wi-Fi/Data | Ongoing automatic backups |
| Bluetooth | Low | Proximity | Small, individual documents |
| Email/Messaging | Low | Internet | Sharing one or two quick photos |
Managing Android Devices on Windows
If you are an Android user working with a Windows machine, the integration is quite deep. Windows includes a built-in application called “Phone Link” designed specifically to bridge the gap between your mobile device and your PC. This tool allows you to view your recent photos, send texts, and even mirror your screen without digging through file folders.
To set this up, search for the “Phone Link” app in your Windows start menu and follow the pairing instructions. You will need to install the companion app on your Android device to complete the handshake. Once paired, you can drag and drop photos directly from the app interface onto your desktop, which is far more intuitive than searching through raw directory paths.
For power users who prefer the traditional file system, Windows Explorer remains the gold standard. When you plug in your device, ensure your screen is unlocked; an locked screen often prevents the computer from seeing the files for security reasons. If the device does not appear, try switching the USB port or checking if the cable supports data transfer, as some cheaper cables are for charging only.
Transferring Files from iPhones
Moving content from an iPhone to a PC requires a slightly different set of steps due to the closed nature of the iOS ecosystem. If you use iCloud, your photos should automatically appear on your computer if you have the iCloud for Windows app installed and configured. This is by far the most passive way to keep your library in sync across devices.
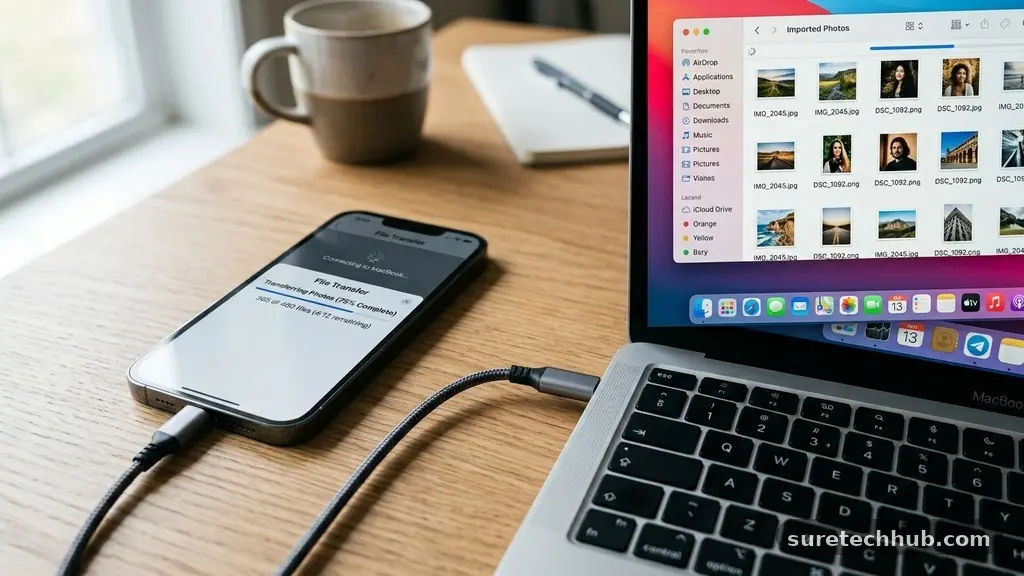
If you prefer to move files manually, connect your iPhone to your computer using a Lightning or USB-C cable. Windows usually detects the iPhone as a camera device, which triggers the “Import” wizard. This tool is quite helpful as it allows you to select specific dates or folders to pull onto your machine, effectively clearing out your phone storage in the process.
Should the automatic import fail, you can use the File Explorer to find the “Apple iPhone” device. Open the “Internal Storage” folder and look for the “DCIM” directory.
Sometimes you will find several subfolders with cryptic names; this is standard for iOS storage management. Copy the contents of these folders to your computer, but avoid moving or deleting them from the phone until you have confirmed the files are safely copied.
Troubleshooting Connection Issues
Sometimes, your computer will simply refuse to see your phone. This is usually a minor software glitch or a hardware handshake issue that can be resolved with a few simple steps.
Start by checking your cable, as data pins can wear out or become damaged over time. If you have a spare cable, try swapping it out to rule out a physical fault.
Next, consider the software permissions on your phone. If you recently updated your operating system, the security settings might have reset, requiring you to “Trust” the connected computer again. A simple restart of both your phone and your computer can also clear temporary cache issues that might be blocking the connection.
If you are using a USB hub or a front-facing port on your PC case, try plugging the cable directly into a rear port on the motherboard. Front-panel ports often have lower power output and unstable data transfer rates, which can cause the connection to drop mid-transfer. Keeping your drivers updated is another vital step for ensuring your computer recognizes newer phone models.
Frequently Asked Questions
Why does my computer not show my phone’s files?
This is often due to the phone being in “Charging Only” mode. Check your phone’s notification shade after plugging in the USB cable and ensure you have selected “File Transfer” or “Transfer Files” from the USB settings menu.
Is it safe to transfer files over public Wi-Fi?
Transferring sensitive files over public Wi-Fi is generally not recommended. If you must do it, ensure you are using a secure cloud service with encryption or a VPN to keep your data protected from potential snoopers on the same network.
What is the fastest way to move thousands of photos?
A direct USB connection is the undisputed champion for speed. It avoids the bottleneck of internet upload speeds and allows you to move massive amounts of data as fast as your hard drive can write the information.
Can I transfer files without any cables or internet?
Yes, you can use Bluetooth, though it is very slow. It is only practical for moving a handful of small documents or a single photo, as the transfer rate is not sufficient for high-resolution video or large libraries.
Do I need special software to transfer files?
For most modern smartphones, no additional software is strictly required. Windows and macOS have built-in file explorers that handle basic transfers, though manufacturer-specific apps like Samsung Smart Switch or Apple’s iCloud can make the process more user-friendly.
Best Practices for File Organization
Once you successfully master transferring photos and files from your phone to your computer, take a moment to organize them. A pile of unorganized files on your desktop will quickly become overwhelming. Create a consistent folder structure based on dates, such as “2023-10-October,” or by event, such as “Summer Vacation 2024.”
Implementing a naming convention also helps tremendously. Instead of leaving files named with generic strings like “IMG_1234.jpg,” rename them to something descriptive like “Birthday_Party_001.jpg.”
This makes searching for specific memories years down the line significantly easier. Using your computer’s built-in search tools becomes much more effective when your files are categorized and named logically.
Lastly, remember to verify your transfers before deleting anything from your phone. Always open a few of the moved files on your computer to ensure they are not corrupted and have transferred in full resolution.
Taking these extra seconds to confirm the integrity of your data provides peace of mind that your digital life is secure and accessible whenever you need it. By consistently following these steps, you ensure the process of moving your digital assets remains a simple, stress-free part of your routine.